It's rather impossible I believe to spend any respectable amount of time with my mother and not long for fiber and needles (or a hook) in your hand. That was certainly my fate during our Christmas holiday there and I began a delightful charcoal cowl scarf using yarn from my mother's stash. The bug had bit however, and when I found myself waiting for a new skein to arrive in the mail I needed to start another! This time I chose a crocheted cowl from ravelry. I had the wrong size hook, and not quite enough yarn....but that didn't stop my need for immediate gratification! After all, I needed to make myself a cowl. I'm not quite sure if it was the cowl that I needed or the making...! It is off the hook so to speak and has spent a happy day around my neck. It couldn't have been finished at a better time as frigid temperatures seize New England. My nose might be freezing but my neck is warm!
Admittedly my cowl is much smaller than the pattern, due to the smaller hook and less yarn. I actually really like it as it is, I'd be happy with a few more inches in length...but really who needs more bulk around the neck when there's always a toddler (toddler, what?...well she toddles so I guess we're there!) there to pull and tug and tuck themselves into?! I actually have plans for two more...well three if you count the one that's already on the needles...! (idea 1 and idea 2) I'd better get busy or it will be warm before they're done! Although with the weather we've had this week it is very hard to remember what warm even feels like!
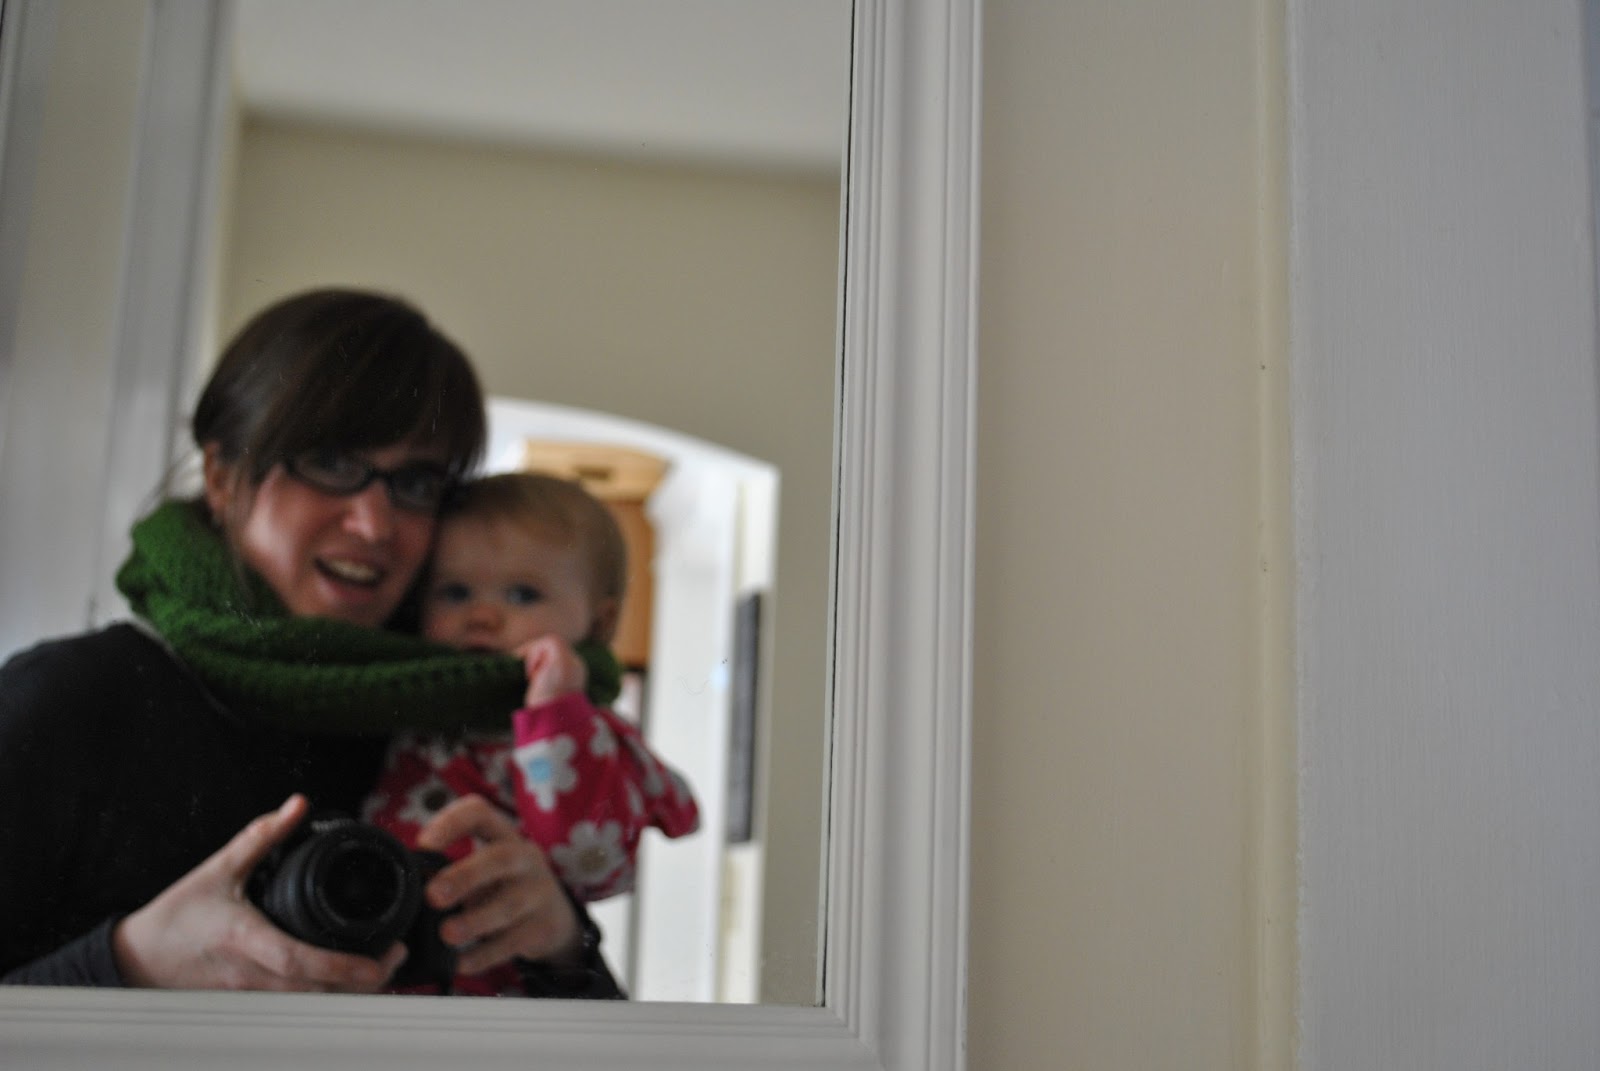
Although I loath photographing myself, it's a tricky business, the one handed - arms length or in the mirror photographing. But I have to say I love these pictures...because my littlest was just so interested! She loved the loopy goodness of a cowl scarf and was thrilled to pieces to be snug as a bug right up next to her mama! Who knew I was making something so fun!!!