In the summer our meals are largely dictated by what is currently flowing out of the garden. Spring brought luscious salad after salad, and asparagus in all a never-ending variety of yumminess. Berry season, starting with strawberries, then blueberries and raspberries and soon blackberries induced pretty much constant grazing…and seriously delicious desserts, muffins, and breakfasts. The heat of summer is bringing cucumbers and green beans and oh-so-many zucchini and summer squash. In fact last night at dinner the little miss held up a cucumber slice and stated simply…”it seems like we are always eating cucumbers when we are eating”…! It is busy and lots of work….but so fantastically delicious! And before you know it we’ll be on to the next round of produce…tomatoes, corn, peppers, eggplants…oh my!
The other night we were snapping and preparing to can an immense load of green beans at the same time as making dinner. With the bean production filling up the kitchen island we served dinner off the side counter to be taken outside to eat. When I told the little miss that dinner was ready she looked around the kitchen island where she was intensely focused on her bean snapping technique and her face fell in the most adorable way. With a voice of complete sadness and worry she said “…but Mama … is there only green beans for supper?” Her concern was so absolutely endearing. Though in fact she is happy to eat green beans in insurmountable proportions all day long she was delighted to discover that dinner (of more than just green beans) had been prepared undetected. Poor girl! Just wait till tomato season when it really does seem like all we will ever eat is tomatoes!
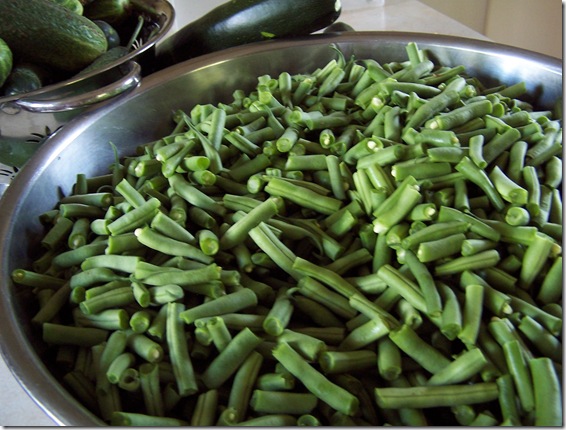
Canning green beans is really a snap! They are wonderful to have on hand and you will love the taste difference between what you can yourself versus grocery store canned beans. If you don’t have a patch of your own find a local farm, farm market, or grocery store that carries local produce. The benefit of purchasing beans is having control over the influx of produce…unlike those of us who are completely at the mercy of the timing of the garden. When they’re ready in the garden they’re ready…and if they aren’t picked and processed they’re lost. Which is tragic.
How to Can Green Beans:
1. Wash you green beans in cold water.
2. Snap them (with your hands) into pieces removing the stem. I like to snap them into ~2” pieces which usually means into thirds. You can snap them any size you like…or even leave them whole.
3. Fill your mason jars with beans leaving 1” head space. (Head space is the amount of space between the beans and the top edge of the jar.) Thump the bottom of the jar on your hand a few times to settle the beans…add more if you to fill the jar higher.
4. Pour 1 teaspoon salt over each full jar of beans.
5. Boil ~4 quarts of water.
6. Prepare you lids by setting them in very hot water.
7. Pour boiling water into the mason jar covering the beans and leaving only ~1/2” headspace. Immediately wipe the top edge of the jar with a clean cloth or napkin to ensure a good seal, place the lid on top and attach the ring.
8. Place the jar into the pressure canner which should be filled with 1 1/2” of water and repeat the process with the next jar.
9. When all jars are in the pressure canner process the beans at 10 lbs. pressure for 25 minutes.
10. Let the jars sit in the canner for a bit before removing to allow them to cool off slowly. Too drastic of a change in temperature too quickly will cause the jar to crack and burst. Which is a huge tragedy and very messy. Let the jars cool in and then out of the canner in a draft free place.
11. Remove the rings, rinse off your jars, and store away for those long cold green bean free months! 
*Most canning can be done in a water-bath or steam canner. (Because most canning is done with acidic foods and products. These methods are very simple. Some vegetables which are low in acid, such as corn, green beans, squash, okra, etc require pressure canning at the right pressure and for the right amount of time in order to kill the bacteria that can cause botulism food poisoning. While this is a frightening thought…if you follow directions carefully with your canning you can rest assured that your food will be safe and delicious!


 Posts
Posts